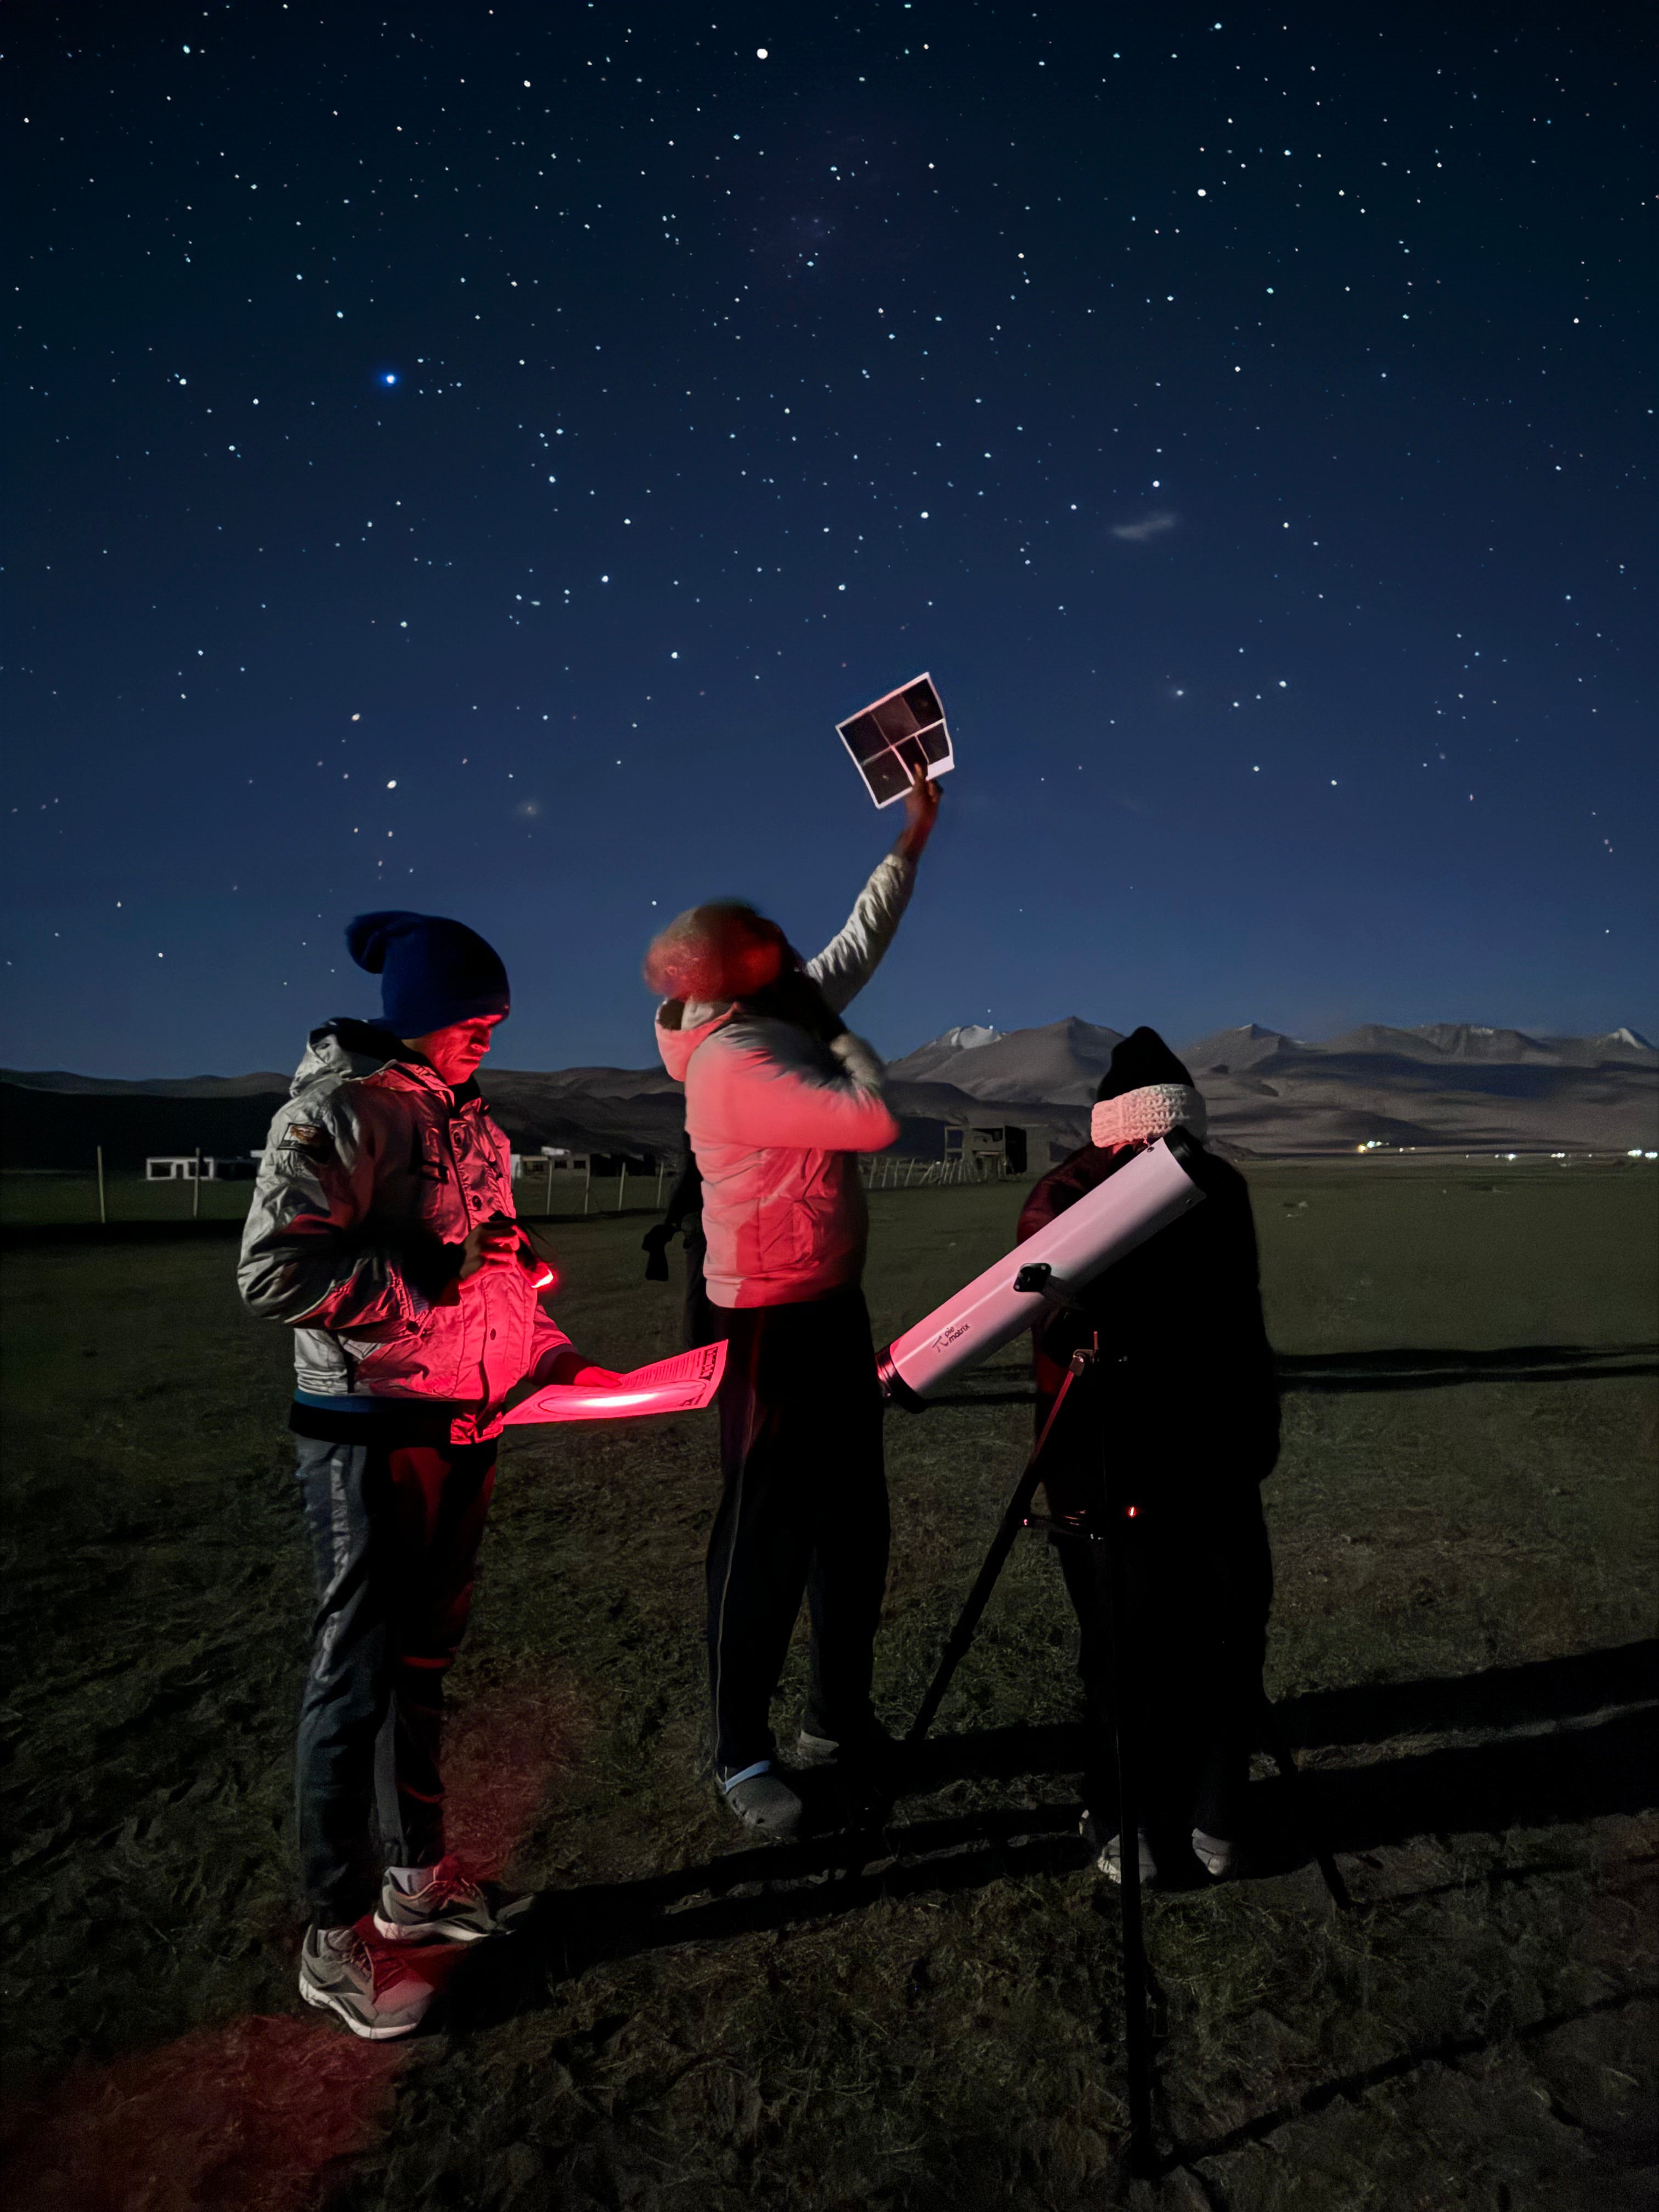
Astrophotography, the art of shooting the enthralling splendor of the night sky, has visible a surge in recognition, specifically in India. With the sky’s mysteries beckoning, enthusiasts increasingly turn to professional telescopes to capture these cosmic wonders. This article aims to guide you through the essentials of using a professional telescope for astrophotography, ensuring that your celestial explorations are as breathtaking as the cosmos.
Overview of Professional Telescopes in India
India’s market for expert telescopes gives a variety of options, catering to novice astronomers and pro stargazers. Prices range widely, beginning from around ₹15,000 and soaring to over ₹1,00,000, relying on the telescope’s competencies. These telescopes can be found in specialized stores or online from reputable platforms.
5 Tips for Astrophotography with Your Telescope
The key to successful astrophotography lies in selecting a telescope that fits your budget and your astronomical aspirations. These 5 tips will help you make an informed decision:

1. Understanding Your Equipment
Know Your Telescope: Start by using knowledge the specs of your telescope. The aperture size determines how plenty mild your telescope can accumulate, which is important for astrophotography. A larger aperture allows more light, making faint objects more visible. The focal length impacts the magnification and field of view; longer focal lengths provide higher magnification but a narrower field.
Mount and Stability: The mount type (equatorial or alt-azimuth) is critical. An equatorial mount is preferable for astrophotography as it can track the apparent motion of the sky, counteracting Earth’s rotation. Stability is key. Ensure your tripod and mount are sturdy enough to support the weight of your telescope and any additional equipment.
2. Right Camera and Adapters
Camera Choices: Your camera type can significantly impact your astrophotography experience. A DSLR camera is a good choice for beginners due to its versatility and ease of use. More experienced users may opt for CCD or CMOS astrophotography cameras designed to capture the night sky.
Connecting Camera to Telescope: Adapters are necessary to connect your camera to the telescope. A T-ring specific to your camera model and a T-adapter for the telescope are standard. Ensure these fittings are secure to avoid any movement during long exposures.
3. Mastering Focus and Exposure
Achieving Sharp Focus: Focusing is one of the most challenging aspects of astrophotography. Use live view mode on your camera, if available, to zoom in on a bright star and adjust focus until it’s a sharp point. A Bahtinov mask can be invaluable for achieving precise focus.
Capturing faint celestial objects requires long exposure times. Start with exposures of 15-30 seconds and adjust based on your subject’s brightness and your mount’s capabilities. Be mindful of the ISO setting; a higher ISO increases sensitivity but can introduce noise.
4. Tracking and Timing
Effective Tracking: If your mount has a motorized tracking system, ensure it’s accurately aligned with the North Star (Polaris) for precise tracking. This alignment minimizes the star trail effect in long exposures.
Understanding Celestial Timing: Research the best times to photograph specific celestial objects. Planets, for instance, are best captured when they are in opposition. The Milky Way’s position, moon phases, and meteor showers should all inform your planning.
5. Post-Processing Techniques
Stacking Images: Image stacking is one of the secrets to stunning astrophotos. This involves taking multiple exposures of the same object and using software to combine them. This technique enhances signal-to-noise ratio, bringing out more detail and reducing graininess.
Adjusting Images: Learn to use Adobe Photoshop, Lightroom, or specialized software like DeepSkyStacker. Adjusting contrast, brightness, and color balance can dramatically improve your images.
The Best Telescope for Astrophotography
When choosing the right telescope for astronomy, factors such as aperture size (larger apertures capture more light), focal length (longer focal lengths give more magnification), and mount type (equatorial mounts are considered to pursue heavenly things). Some recommended models for beginners include the Celestron AstroMaster series and Sky-Watcher Explorer.
Conclusion
Embarking on the journey of astrophotography with a professional telescope is an exhilarating experience filled with discovery and awe. Remember, the perfect shot often requires patience, practice, and passion. For those ready to start or enhance their astrophotographic adventure, explore the range of professional telescopes available in India. Whether online or in-store, the cosmos awaits your lens!


Share:
Upgrade Your Stargazing Experience with High-Quality Telescope Eyepieces
How to Choose Eyepieces for Any Telescope